
Happy October Y’all!
I have 4 easy DIY’s for the fall season! These all are affordable and take less than 15 minutes to do!
Pumpkin Garland


What You’ll Need:
Twine
Green or Brown Pipe Cleaner
Scissors
Orange Yarn

Step 1: Wrap the orange yarn around your fingers 25 times and cut the last strand.

Step 2: Cut a longer piece of yarn and tie it around the 25 strands of yarn and tie it around.

Step 3: Take the green or brown pipe cleaner and cut into smaller stems for the pumpkin. We want them about 1-1/2″ stems.


Step 4: Take the 1-1/2″ pipe cleaner and loop through the tie of the pumpkin from Step 2. Twist the pipe cleaner to the orange yarn.


Repeat Steps 1-4 until you have 8 pumpkins or however many you would like.

Step 5: Now it’s time for our garland! Take any color twine and cut about a yard and a half of twine.

Tip: Leave about 4-5″ of twine left over so you have room to hang it up.

Step 6: Take all the pumpkins and twist the pipe cleaner around the twine.

Once, it looks like this, space each pumpkin about 3 inches apart.


And there you have a pumpkin garland!

Pumpkin Cupcakes

This is my favorite DIY! It is so quick and simple! It is one of the easiest of them all!

What You’ll Need:
White Pumpkins (must be plastic and any size)
Any Color Paint
Sponge Brushes
Mod Podge or Hot Glue Gun
Foam Colorful Sheets
Scissors
Step 1: Paint your pumpkin about a little under half way down. I like to curve the edges to make them more rounded. Let the pumpkin dry for about 10 minutes.

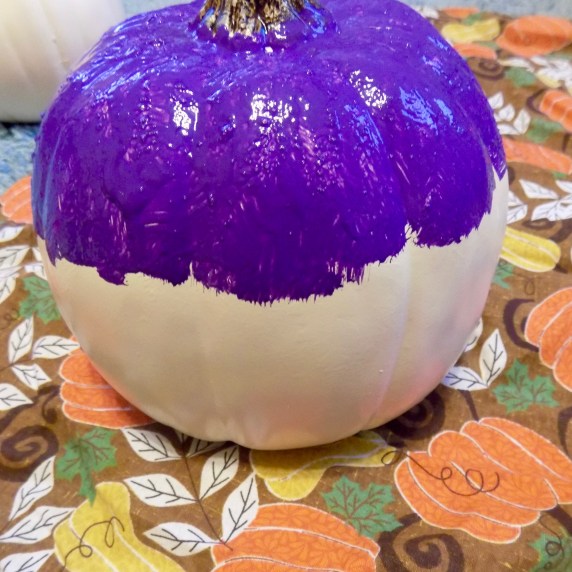
Step 2: Take your foam sheets and cut slim strips. This will act as your sprinkles for your cupcake. Cut the slim strips into little pieces to act as the sprinkles.


Step 3: Glue on the sprinkles when the paint is dry on top of the painted area.

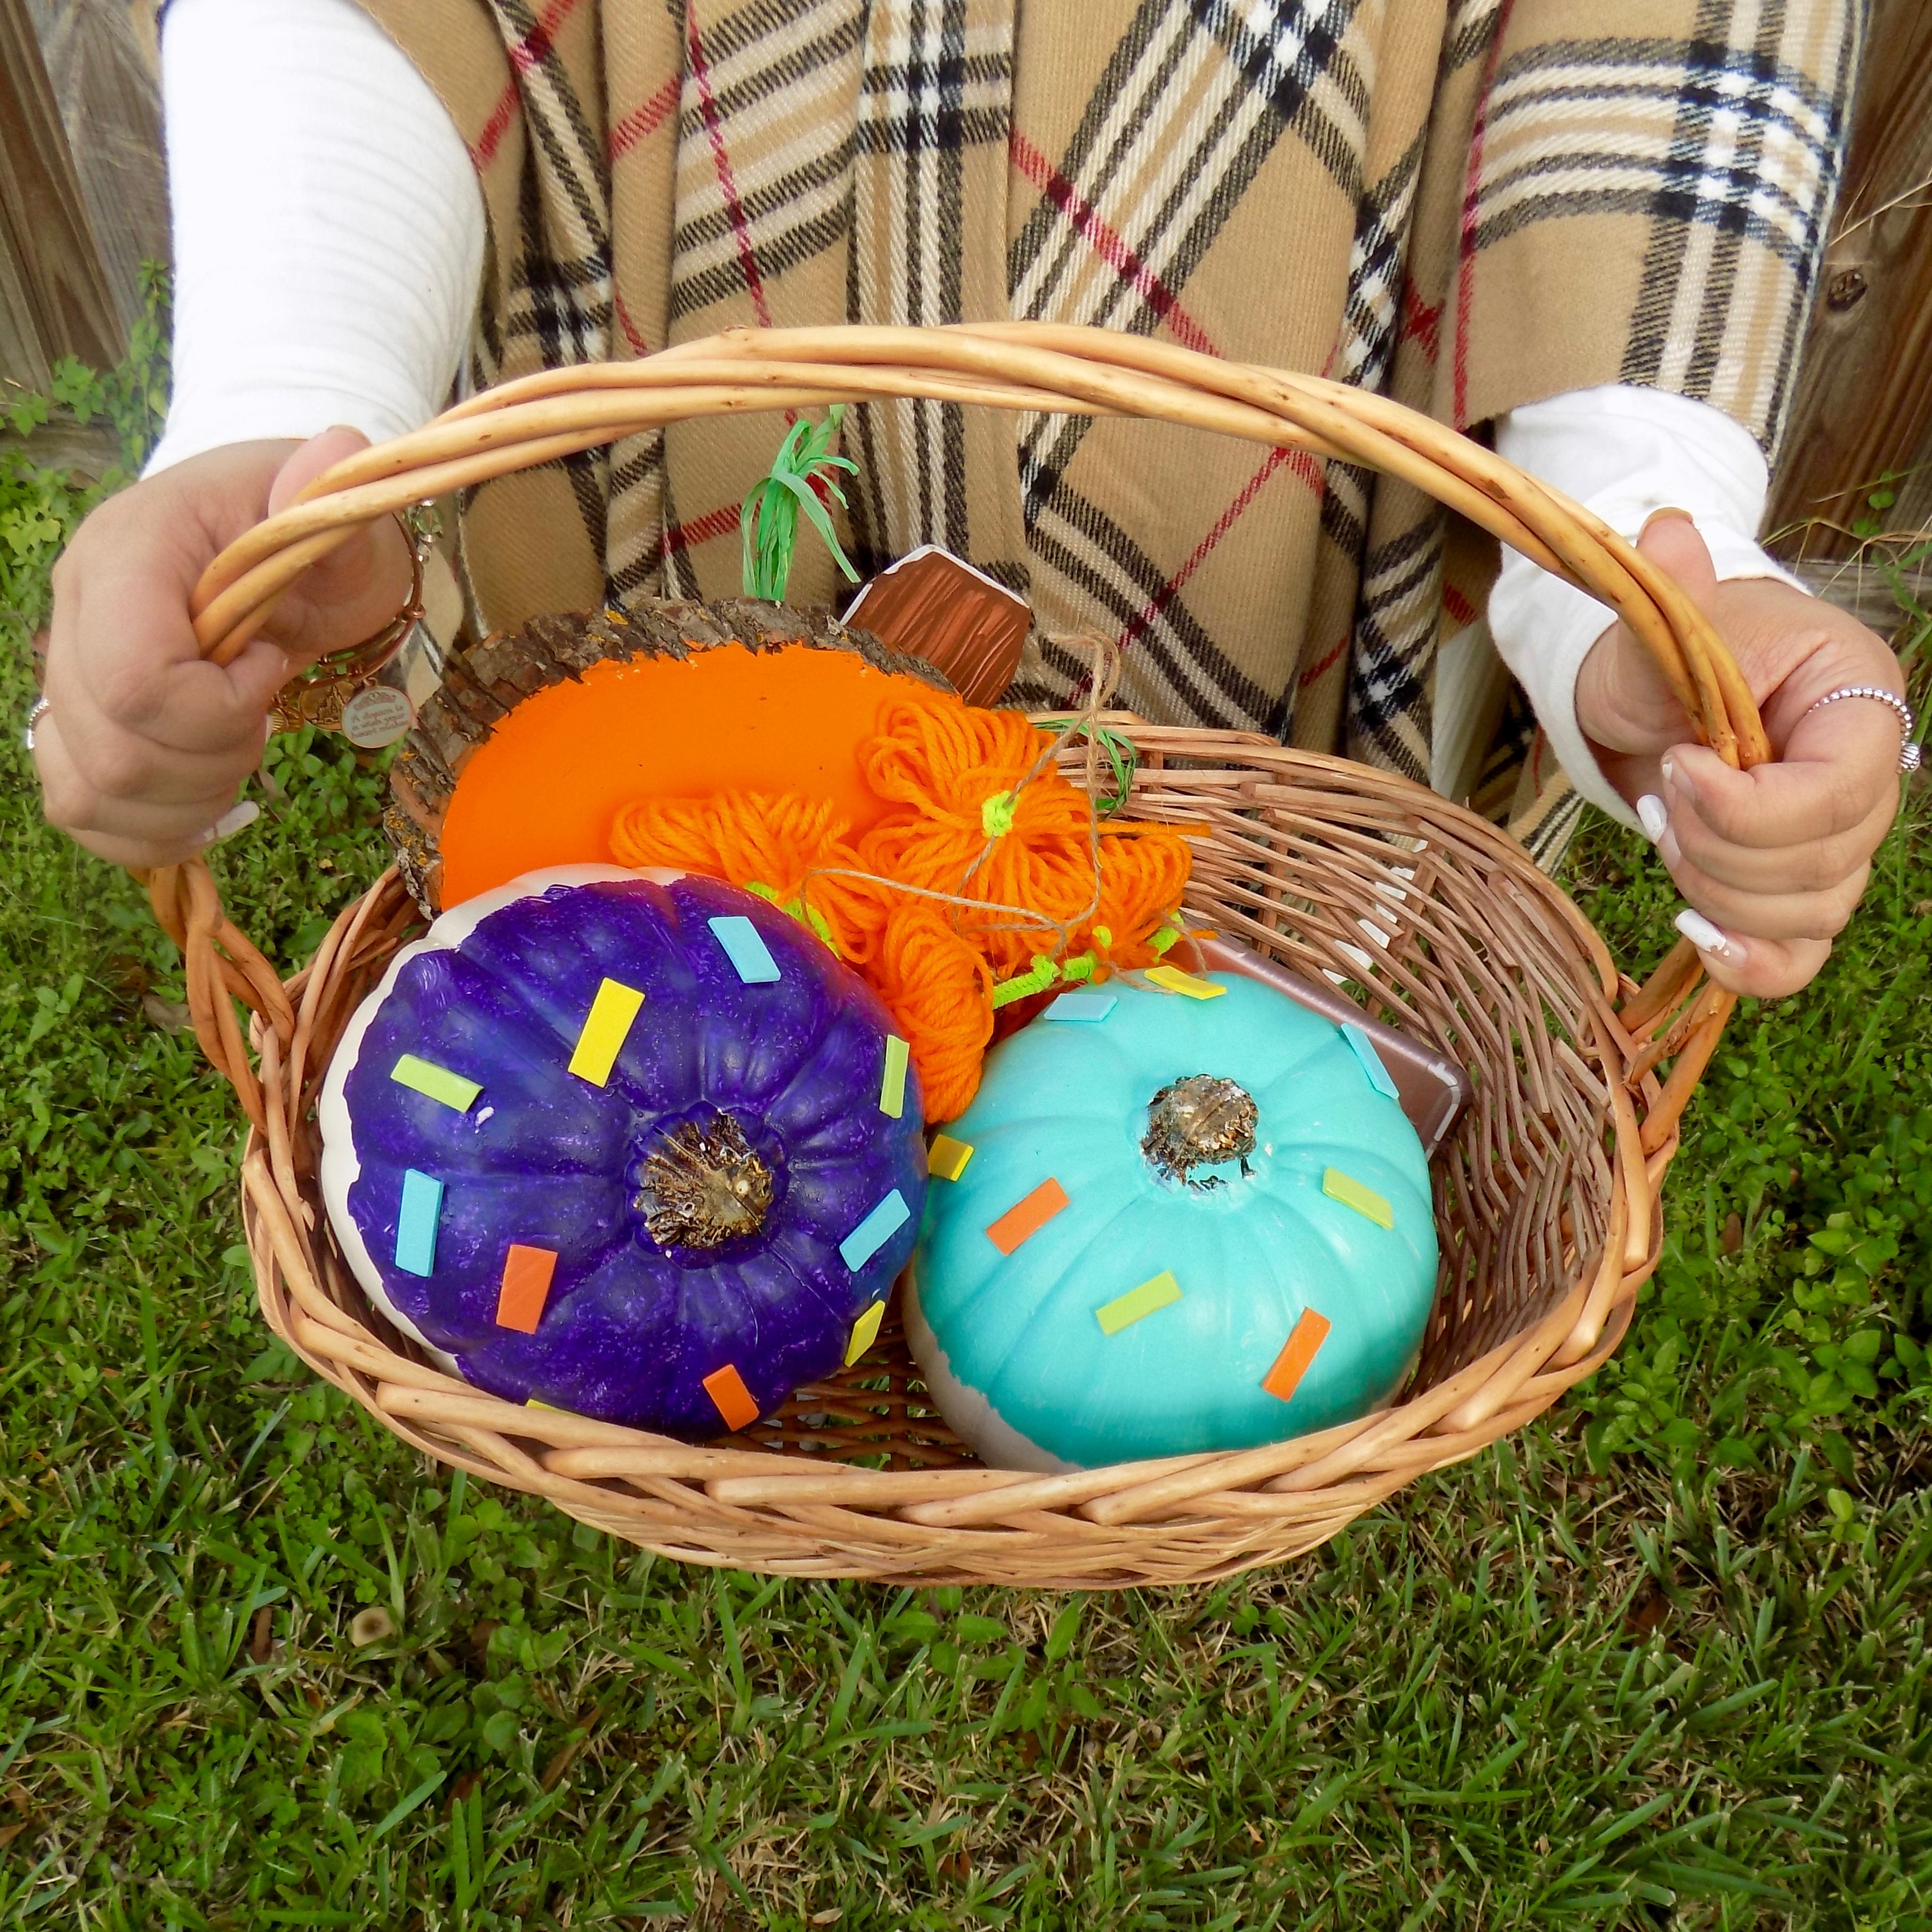
I made 3 pumpkin cupcakes this day because it was SO easy! I love making these and having them around my house! It is the perfect way to enjoy the pumpkins without the mess of a real one!
Tree Trunk Pumpkin
I call this DIY the “tree trunk” pumpkin because it is using a piece of an actual tree!

What You’ll Need:
Tree Bark in Oval Shape (you can get this at Micheal’s)
Wooden Square (the wood section in Micheal’s)
Wire
Green Raffia
Mod Podge
Sponge Brush
2 Paint Brush (large and skinny)
Orange and Brown Paint
Step 1: Paint the top of the wood with your larger paint brush orange. Let it dry.


Step 2: Paint the square shape brown with an up and down motion to create the stem of the pumpkin. Let it dry.


Step 3: Take your raffia and wire and cut about a 12 inches of wire. Wrap the green raffia around the wire to create the leaf of the pumpkin. 


Step 4: Twist the write around the bottom to create a leaf.

After all steps are complete, glue the brown wood and wire to the center of the back of the oval pumpkin. And it should look like this:

Halloween Macrame Wall Decor
This is a simple DIY that takes no time! It’s fun to make and give a pop of color to your wall!


What You’ll Need:
Scissors
Orange and Black Yarn
Hanger or Blanket Hanger
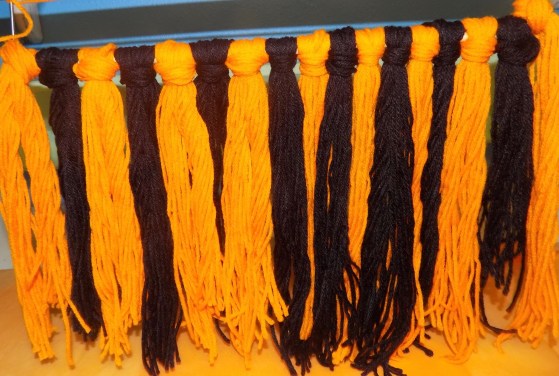
Step 1: Take your yarn and wrap around your forearm 20 times to create the long pieces of yarn. Cut the yarn on one end after wrapped around arm.

Step 2: Remove the hook piece from your hanger and take the piece of yarn and make a loop on the rod. Shown below.


Step 3: Loop through the hole the rest of the yarn piece and pull towards you letting the yarn dangle. Once that is complete, alternate between orange and black throughout the rest of the rod.

Once it is complete, it should look like this!
You may cut the ends to look more even or in a “V” shape on the bottom like most decorative pieces do. I then took more string that was left over to tie on the ends of the rod to hang on a hook.

So there you have it! My favorite, easy DIY’s for the fall! I hope these will motivate you to create some fall decor this season. They are easy enough for people with busy schedules!

Thank you for reading!
Until the next blog,
Cheyenne
Instagram|Twitter|Facebook|Youtube|Poshmark|
Leave a Reply